Building The Nekoma Bank Museum

When the Historical Society acquired the building in 2002, it had suffered some deterioration from sitting vacant for over 15 years. Cracks had formed in some of the plaster walls and ceilings. In addition, the building had undergone interior alterations and an expansion. Nevertheless, the bank retained much of its original character and most of the alterations were reversible. Plus, the building managed to escape vandalism that often plagued abandoned rural buildings.
In the 1960s, the bank had undergone a major renovation. The back of the building was extended to house a restroom, storage area, and private office. The lobby of the building was modernized with new paint, a suspended ceiling, and recessed light fixtures. Wood floors were covered with tile. The steel “cages” at the top of the teller stations were removed.
After discussion and careful evaluation, the Society decided to restore the building as closely as possible to its original appearance. A lot of the original furnishings remained, and to replace furnishings that were missing, the Society had access to original artifacts and furnishings from other banks and related institutions in the county.
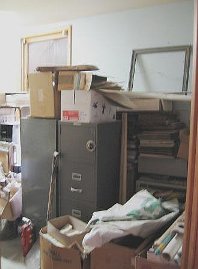
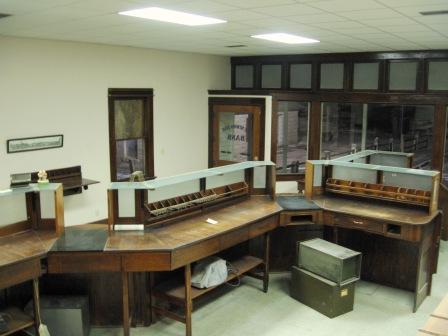 The first order of business was to organize piles of paperwork and objects that packed almost every available space in the building. The underside of the teller windows was filled with magazines and boxes of unknown materials. In addition, boxes were stacked to the
ceiling in the back office. It appeared that very little had been discarded for several decades. Society members meticulously sorted every package, box, and pile to preserve what was of historical value and
to properly dispose of items that had no historic value.
The first order of business was to organize piles of paperwork and objects that packed almost every available space in the building. The underside of the teller windows was filled with magazines and boxes of unknown materials. In addition, boxes were stacked to the
ceiling in the back office. It appeared that very little had been discarded for several decades. Society members meticulously sorted every package, box, and pile to preserve what was of historical value and
to properly dispose of items that had no historic value.
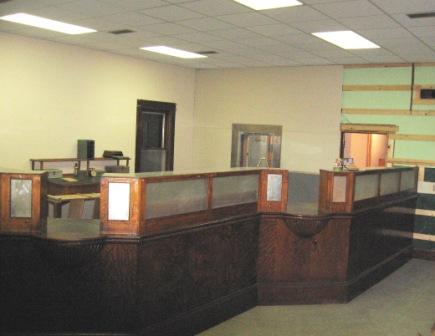
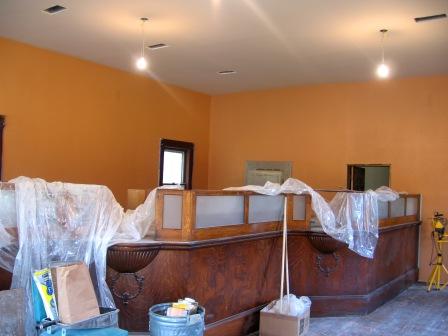
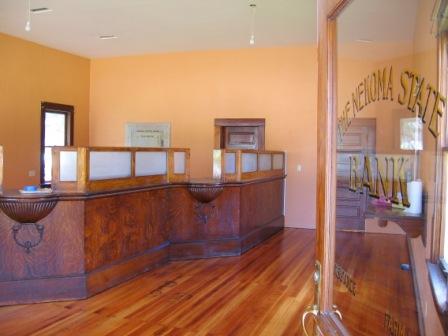
Pictured to the right is the bank lobby in 2007 after the building was situated on the museum campus. All of the magazines and other materials had been cleared. Although the upper metal cages were gone, the 1916 teller stations were intact.
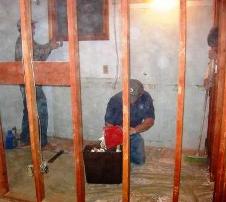
 In order to move the building, the original brick vault had to be dismantled. The original vault walls were constructed of four courses
of brick with an airspace between the second and third courses. The vault ceiling was approximately six inches of concrete reinforced with barbed net wire. On top of the ceiling was about 12 inches of sand. Volunteers removed the vault ceiling by use of hand tools and transported
debris out of the building. Once the heavy vault door was removed, volunteers began the tedious task of taking down the vault walls brick by brick.
In order to move the building, the original brick vault had to be dismantled. The original vault walls were constructed of four courses
of brick with an airspace between the second and third courses. The vault ceiling was approximately six inches of concrete reinforced with barbed net wire. On top of the ceiling was about 12 inches of sand. Volunteers removed the vault ceiling by use of hand tools and transported
debris out of the building. Once the heavy vault door was removed, volunteers began the tedious task of taking down the vault walls brick by brick.
By 2007, the wood paneling had been removed from the back wall and a new wall constructed where the brick wall had been removed. The vault door was reinstalled in its original location.
Since costs of removing and replacing the original vault were somewhat prohibitive, the Society decided to reconstruct the vault with light weight materials to simulate the appearance of the original. Some of the original brick was installed along the back wall to give a visualization of how it was originally constructed.
February 3, 2007: Restoration of the vault is underway.
 |
 |
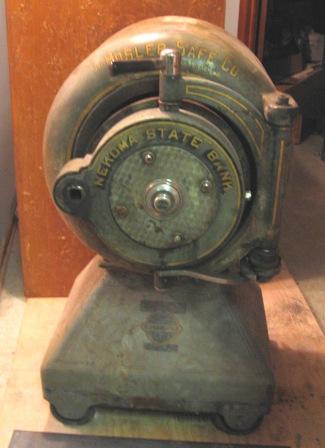 |
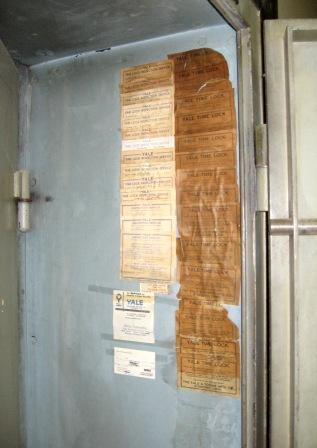
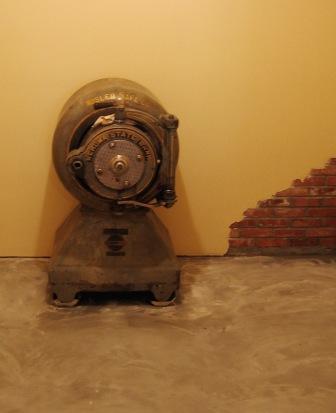
| Workers have begun to resheet the interior walls of the vault. An opening, cut into the north wall to facilitate removal of the original brickwork on site, has been left to allow the bullet safe to be moved back into the vault. | Inspection reports dating back to pre-1920 attest to the age of the vault door. | The new floor had to be reinforced to support the massive bullet safe that weighed in at 2,220 pounds. |
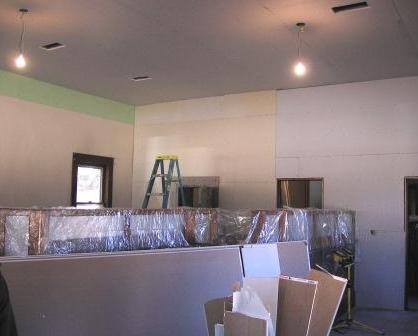
February 10, 2007: The modern ceiling and wood paneling comes down.
 |
 |
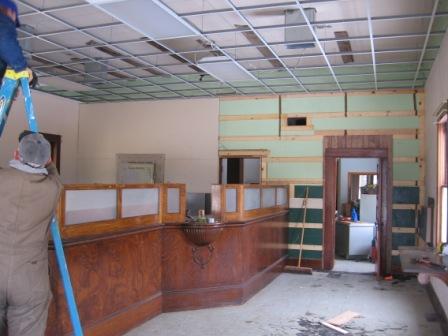 |
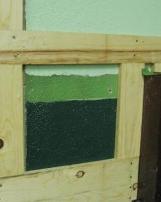
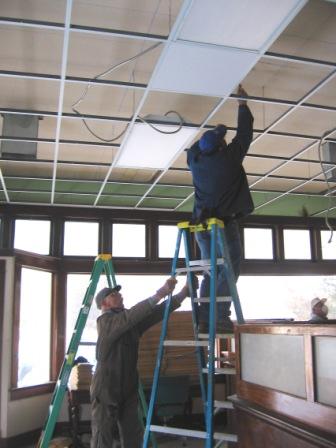
| When the wood paneling was removed, a variety of paint schemes were uncovered. The Society plans to repaint the lobby in a color scheme common to the 1920s era. | A volunteer removes the recessed lights. The modern fixtures are being replaced with antique decorative fixtures. | Acoustic ceiling tiles have been removed. Once the metal gridwork is down, the ceiling will be reconstructed to replicate the original lathe and plaster. |
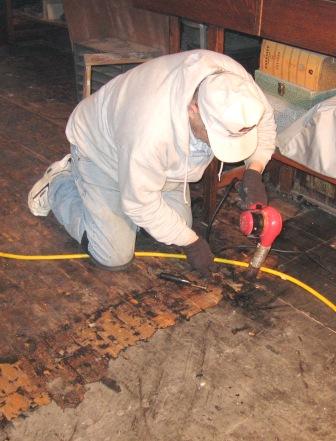
February 24, 2007: The new ceiling goes up and the wood floor is exposed.
 |
 |
 |
| Nailing strips were placed on the ceiling and new sheetrock was installed on the west wall which had been covered in wood paneling during an earlier remodel. | Volunteers quickly discovered that stripping the hardwood floor would be a slow process. It was also hard on the knees. | New sheetrock covers the ceiling and west wall. The original plaster ceiling had suffered quite a bit of damage. The lobby is now ready for the finishers to tape and mud. |
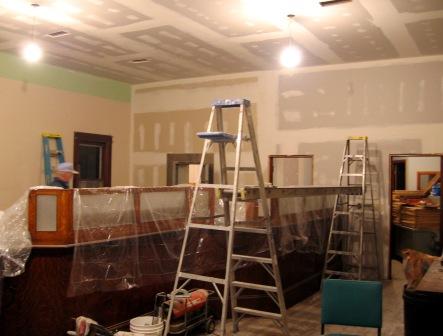
March 3, 2007: The sheetrock finish work is underway.
Workers move outside in the warmer weather.
 |
 |
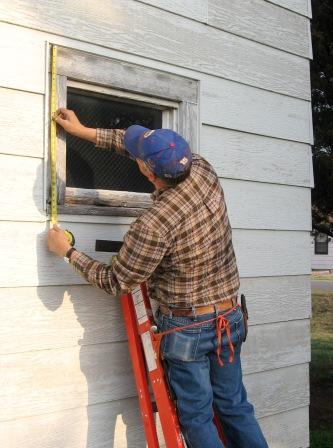 |
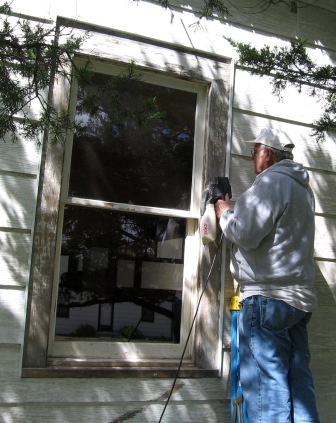
| The finishers have completed the taping and mudding the ceiling and rear wall. The next step is to apply a texture to match the original. | The back hallway is being painted and designed to compliment the historical lobby. | Fred removes and covers the modern rear windows. |
March 28, 2007: The walls in the lobby and vault are finished!
There is a light at the end of the tunnel.
 |
 |
 |
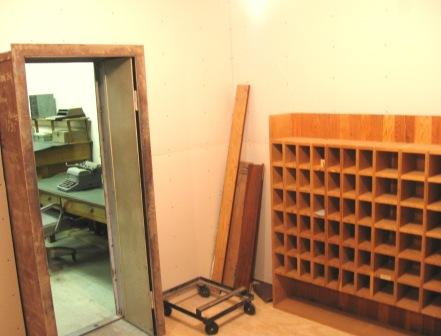
| The board decided to go with a color scheme typical of the era rather than the very dark green original. | Concrete has been applied to the vault floor. Brick from the original vault is visible in the corner. | Some items from the bank were stored in the office. Historical artifacts will be cataloged and properly stored. |
April 21, 2007: The floor has been stripped and refinished.
It's time to paint, clean and move in the furniture.
 |
 |
 |
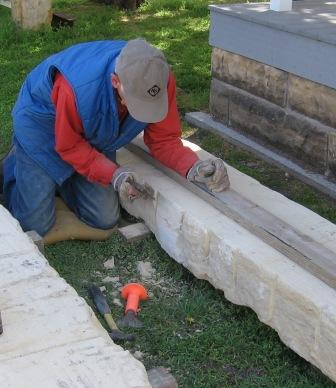
| Gary sands the windows in preparation for primer. | Lawrence dresses stone for the front steps. The stone was quarried in southwestern Rush County one week ago. | The lobby is ready for finishing touches. Soon the door of the Nekoma Bank Museum will officially reopen to the public for the first time since 1987. |
It has taken just under four months to transform the modernized bank back into its 1916 style. Finishing touches to the lobby include seven vintage 100-year-old light fixtures. Although the fixtures were not original to the building, the museum curator chose a style that would have been used when the building was constructed.
February 2009: Phase 2 includes renovation of the back storage area into gallery space.
 |
 |
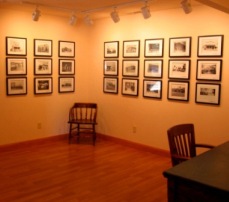 |
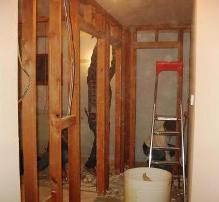
| Amidst clouds of dust, Jim sweeps debris from the restroom floor as Fred prepares to remove an abandoned window. | The once narrow hallway is opened up providing a glimpse of the new space. | With a coat of paint and new track lighting, the room takes on a new look. |
The new gallery area provides space for additional exhibits illustrating the evolution of the banking industry in rural Kansas and how it relates to to the world-wide financial industry. The new space also includes a gallery of photographs depicting Rush County banks, and a re-created turn-of-the-century office.
| Timeline: The Last 30 Years | (Click on the images for a larger picture.) | ||
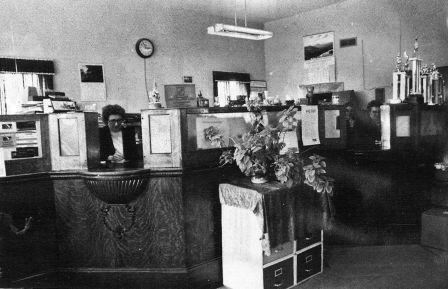 |
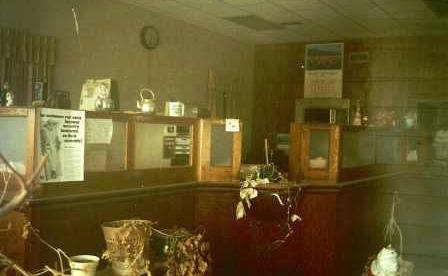 |
|
|
| 1977 | 2003 | January 2007 | May 2007 |